Weekly Newsletter
Excepteur sint occaecat cupidatat non proident
© 2024 Tech News Pro 24. All rights reserved.
Share
Opening a Payoneer account is a straightforward process that enables you to receive payments from international clients and marketplaces. Here’s a brief guide to get you started:
Step 1: Visit the Payoneer Website
- Go to the Payoneer website: Navigate to www.payoneer.com.
Step 2: Sign Up for an Account
- Click on ‘Sign Up’: Look for the ‘Sign Up’ or ‘Register’ button on the homepage and click on it.
- Select Your Account Type: Choose the type of account you need based on whether you’re a freelancer, business owner, or individual.
- Provide Personal Information: Fill in your personal details, including your first and last name, email address, and date of birth.
- Create Login Details: Set up your login credentials, including a username and password.
Step 3: Add Contact Details
- Enter Your Contact Information: Provide your country, address, city, postal code, and phone number.
Step 4: Security Details
- Set Up Security Questions: Choose and answer security questions to help protect your account.
- Identity Verification: Prepare to upload a government-issued ID (passport, national ID, or driver’s license) to verify your identity.
Step 5: Bank Account Information
- Link Your Bank Account: Provide your bank account details, including the bank name, account number, and SWIFT/BIC code. This will allow you to withdraw funds from your Payoneer account to your bank account.
Step 6: Review and Submit
- Review Your Information: Double-check all the information you’ve provided to ensure it’s accurate.
- Agree to Terms and Conditions: Read and accept Payoneer’s terms and conditions.
- Submit Your Application: Click the ‘Submit’ button to complete the registration process.
Step 7: Verification and Activation
- Email Confirmation: Check your email for a confirmation message from Payoneer. Click the link in the email to verify your email address.
- Account Review: Payoneer will review your application and may ask for additional information or documents.
- Account Approval: Once your account is approved, you’ll receive a confirmation email. You can then log in to your Payoneer account and start using it.
Step 8: Order a Payoneer Card (Optional)
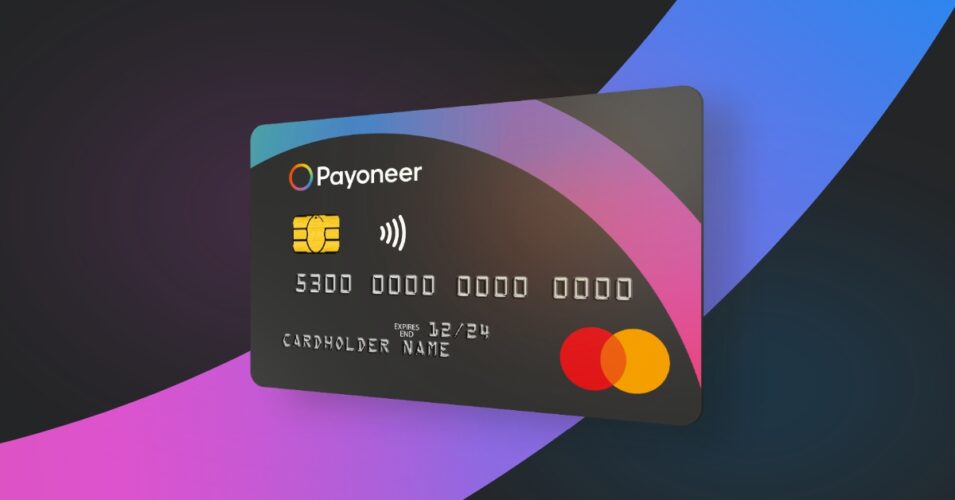
- Request a Card: If you want a physical Payoneer card for ATM withdrawals and purchases, you can order one through your account dashboard.
Conclusion
Opening a Payoneer account is a simple process that can be completed in a few steps. By following this guide, you’ll be able to set up your account and start receiving payments from clients and marketplaces worldwide. Happy earning!
Related Articles
How to Succeed as a Freelancer on Fiverr: A Comprehensive Guide
Freelancing on platforms like Fiverr offers incredible opportunities for individuals to showcase...


